Usage examples
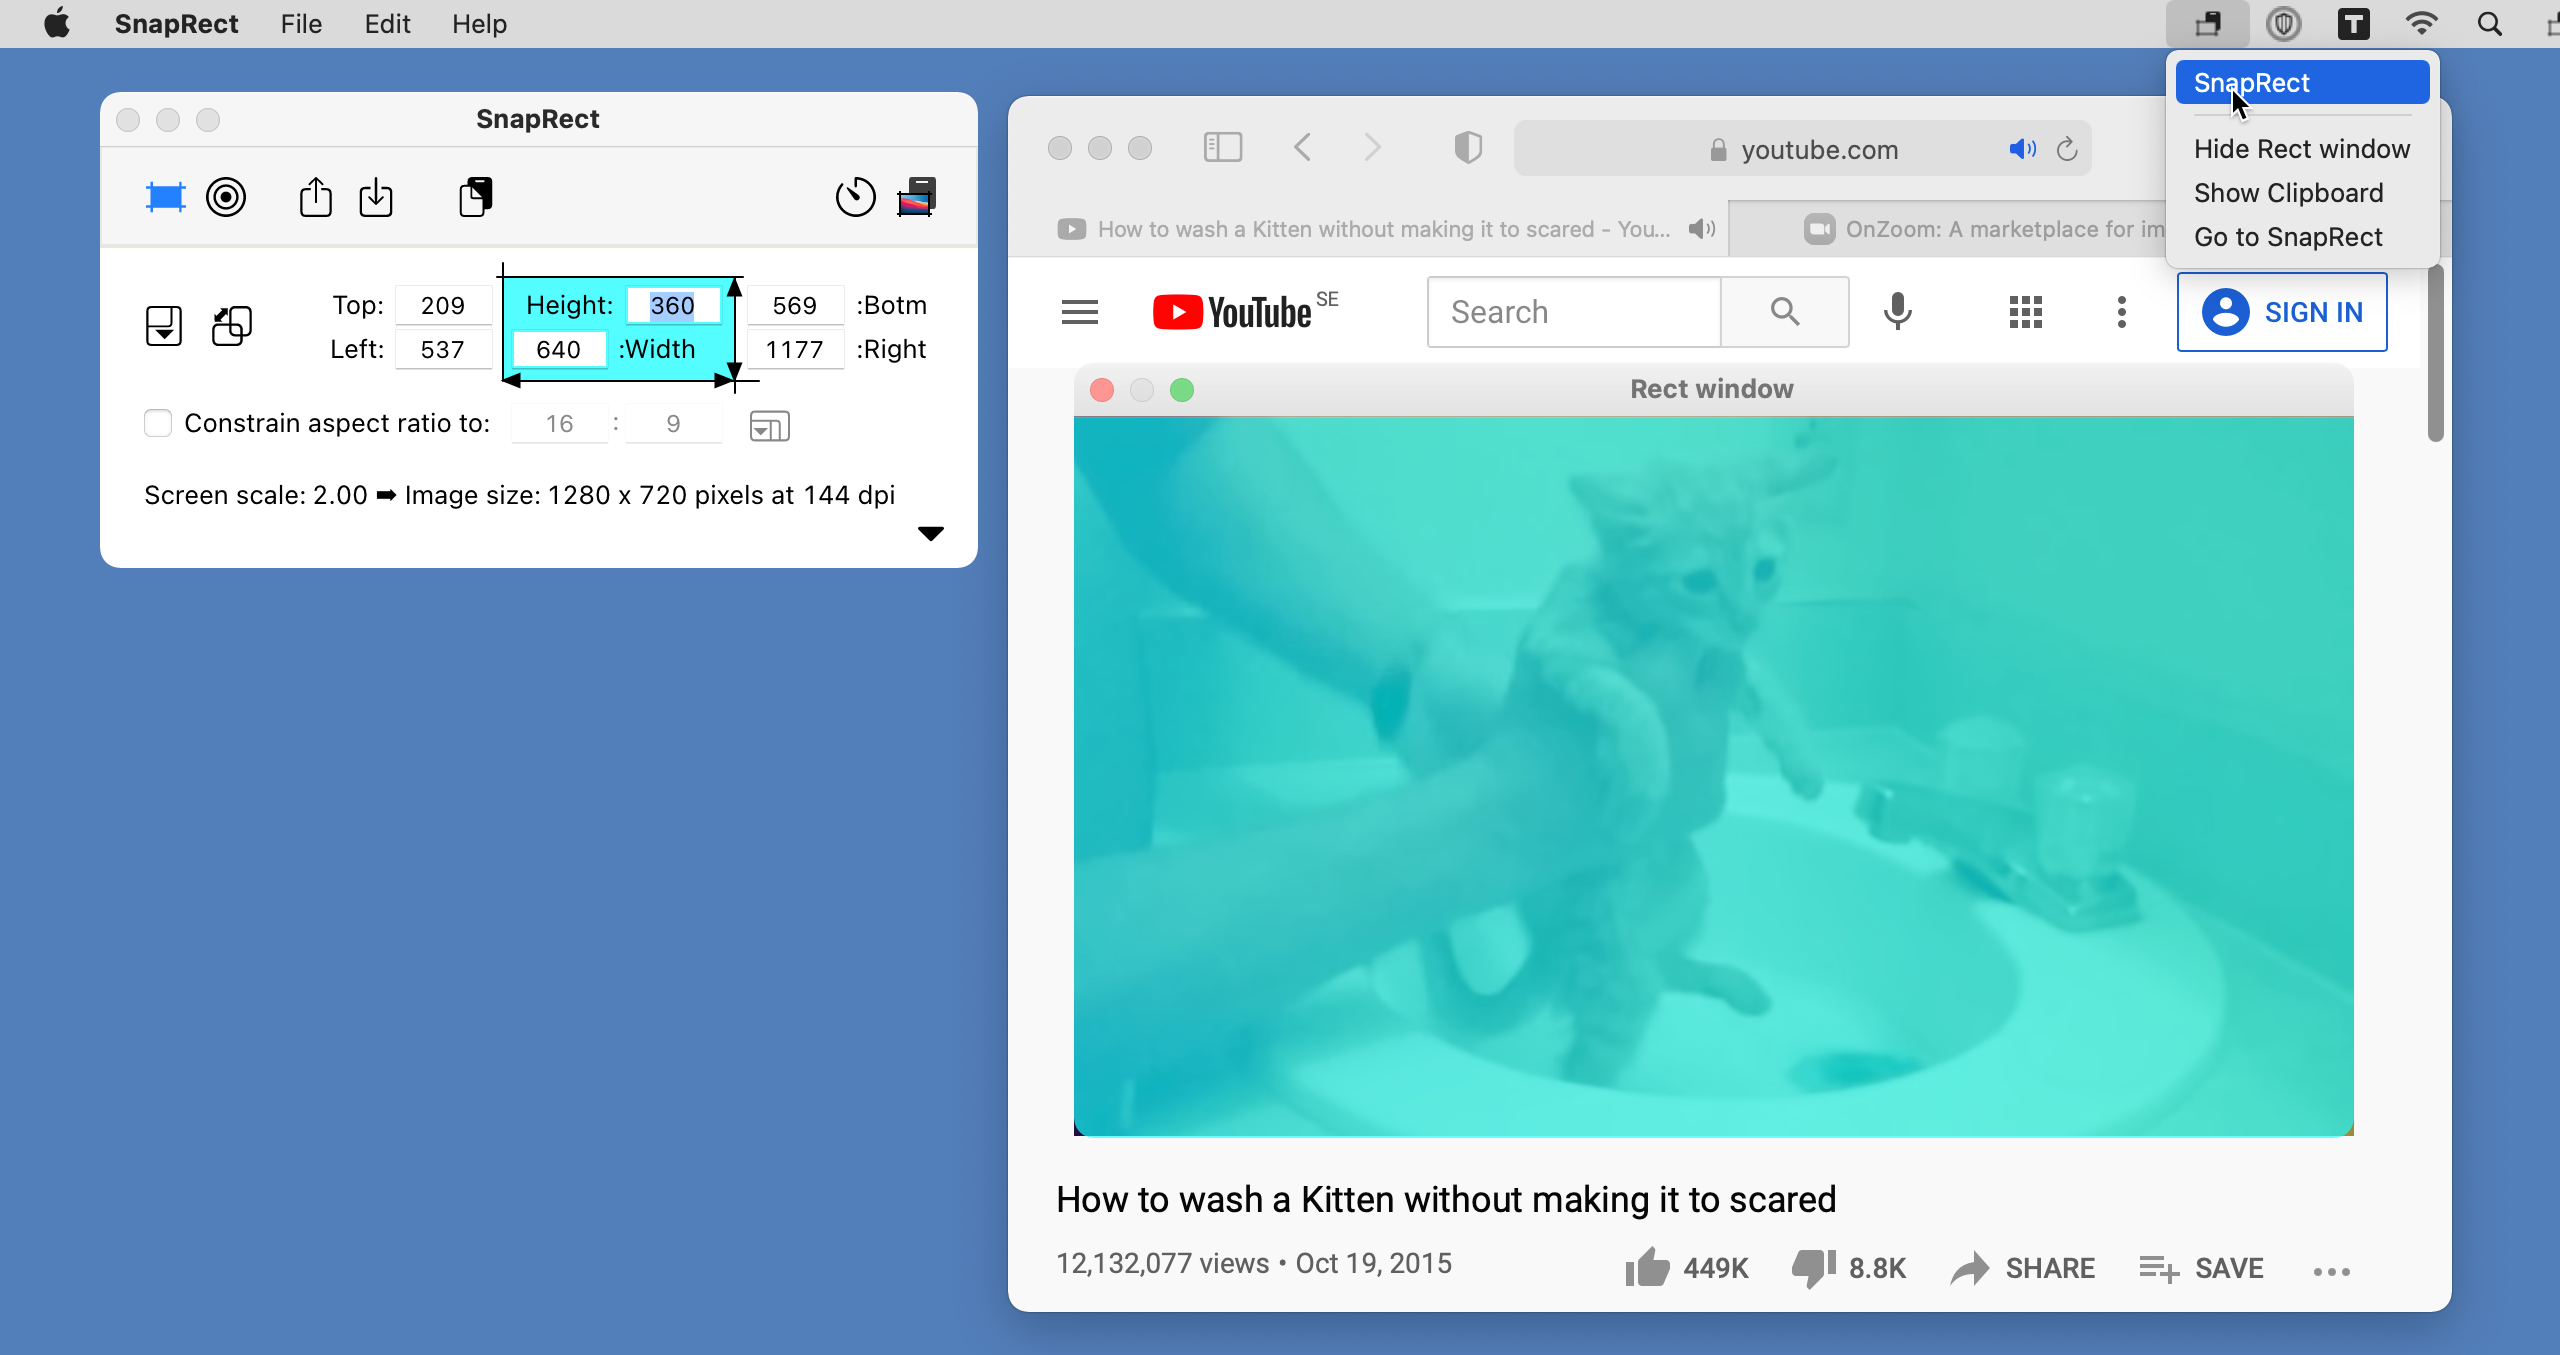
In reports or writings, you often want images of the same size or dimension and often the image is captured from a recurring and well-defined part of the screen. Example is when you want to capture presentation slides from a digital
meeting or images from YouTube.
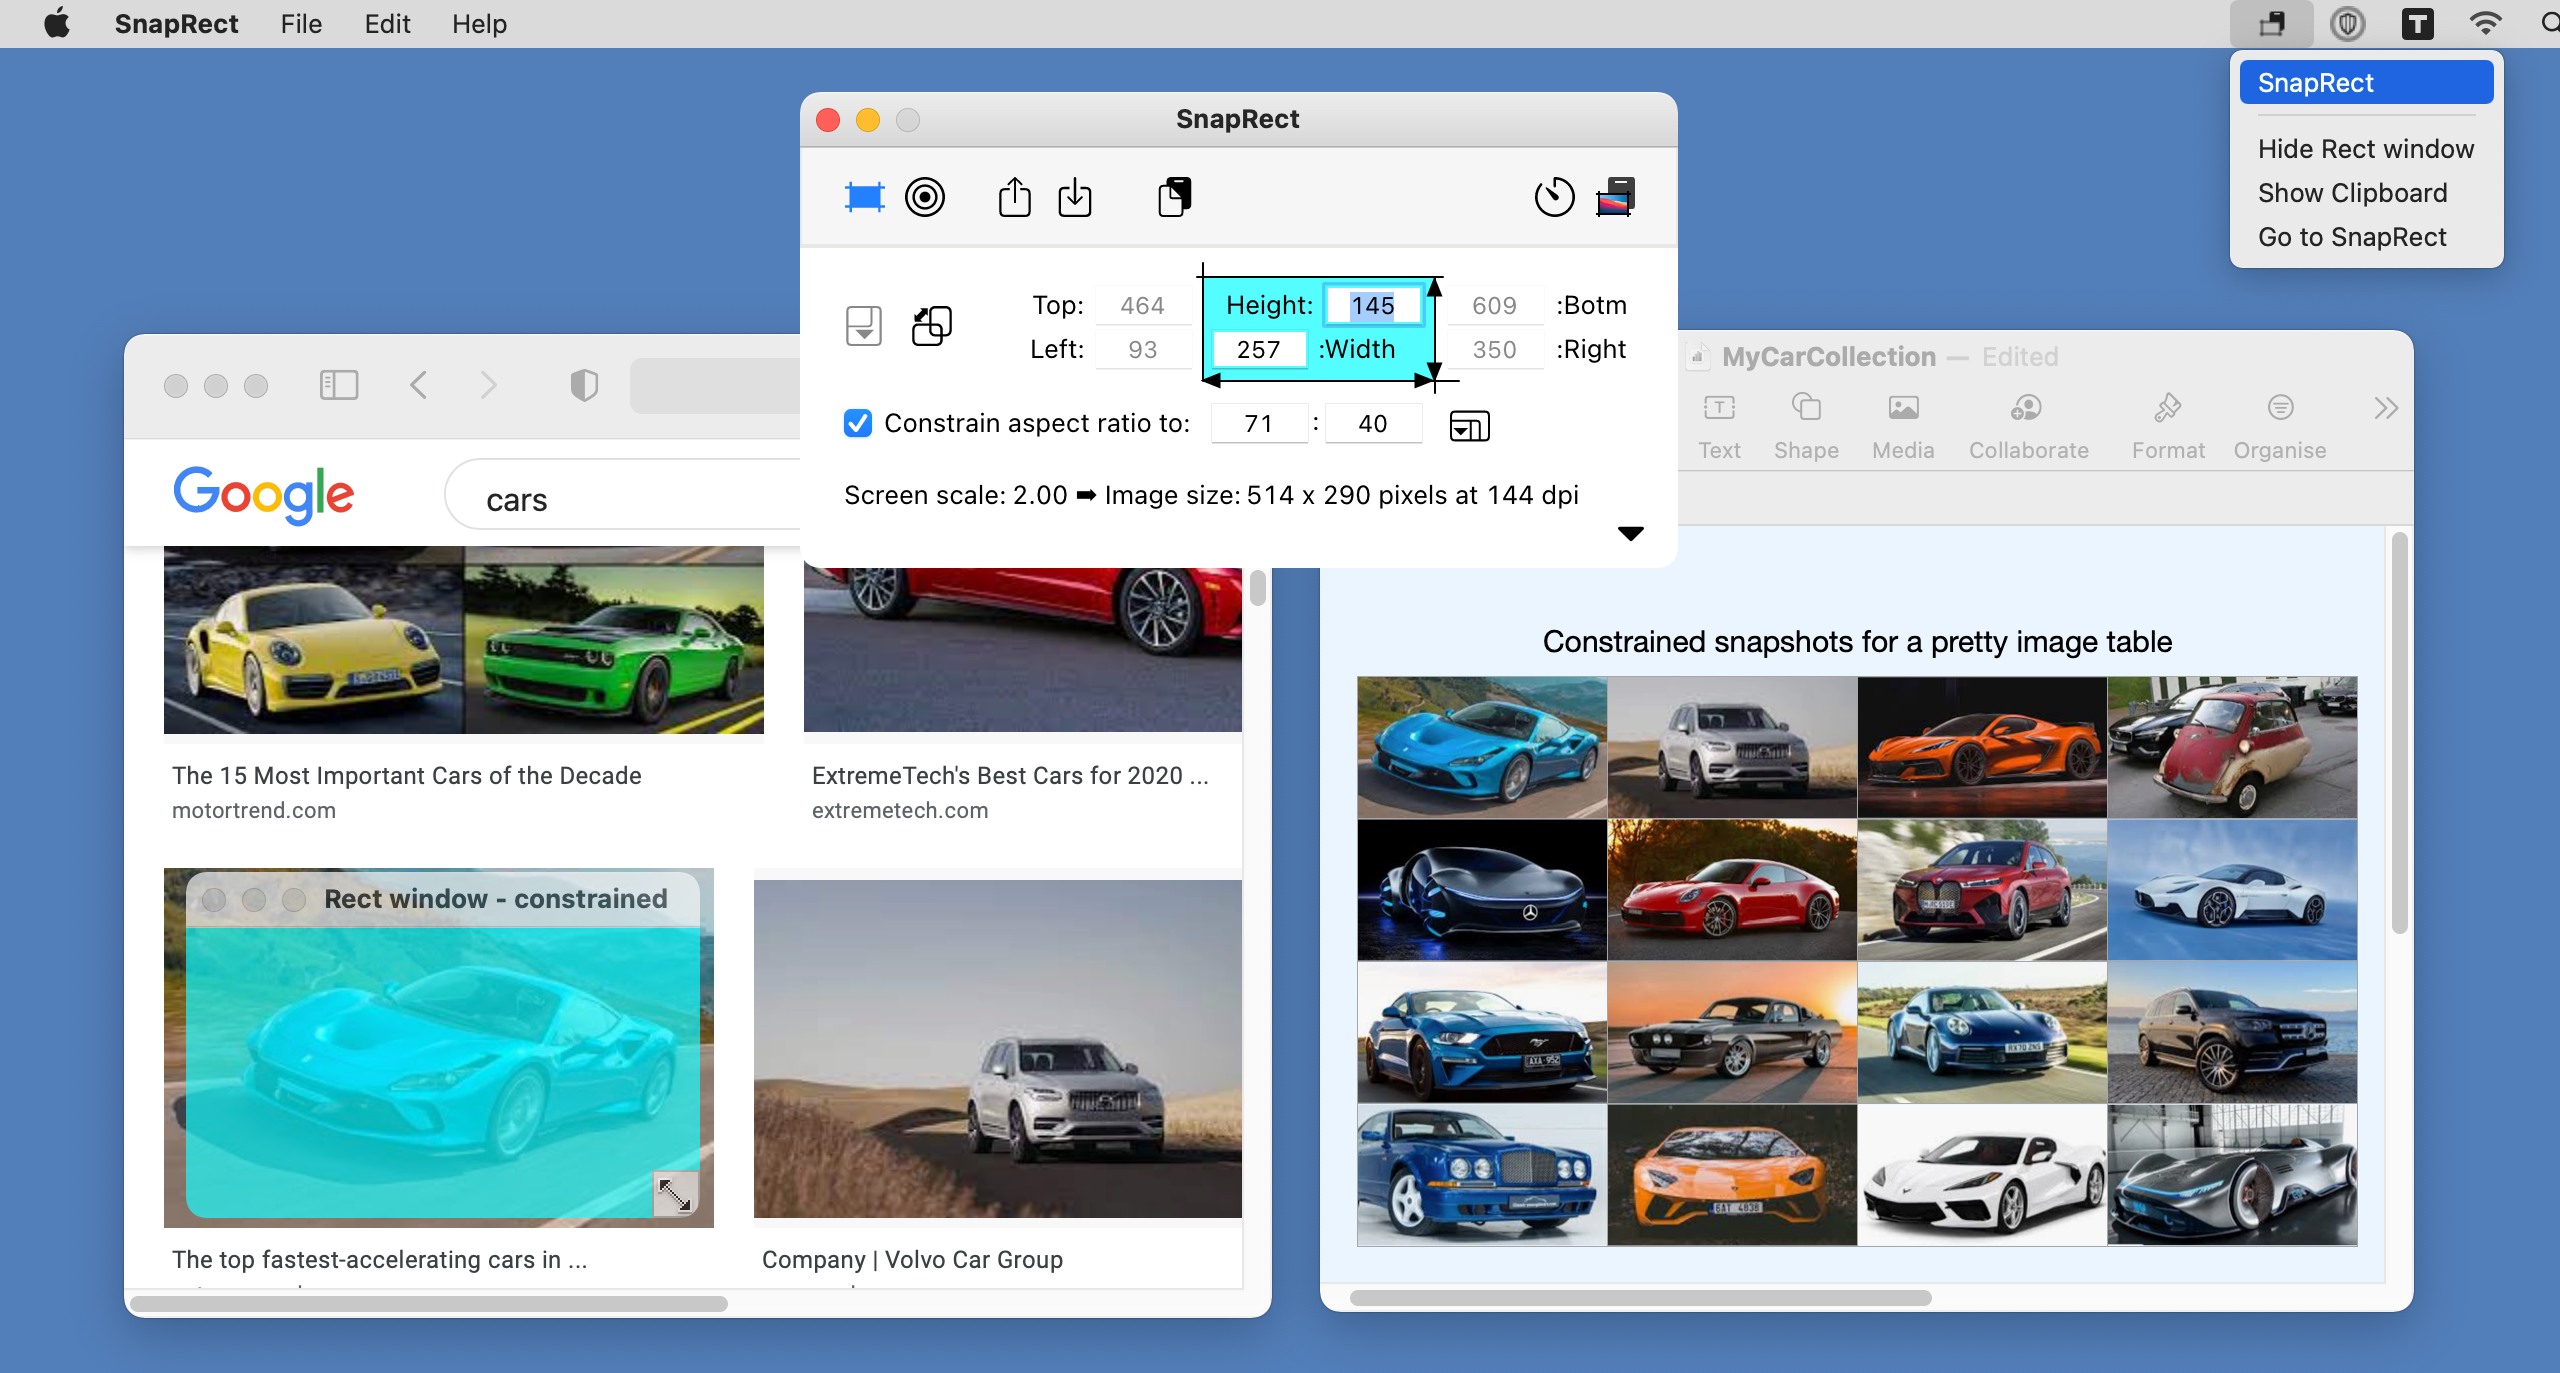
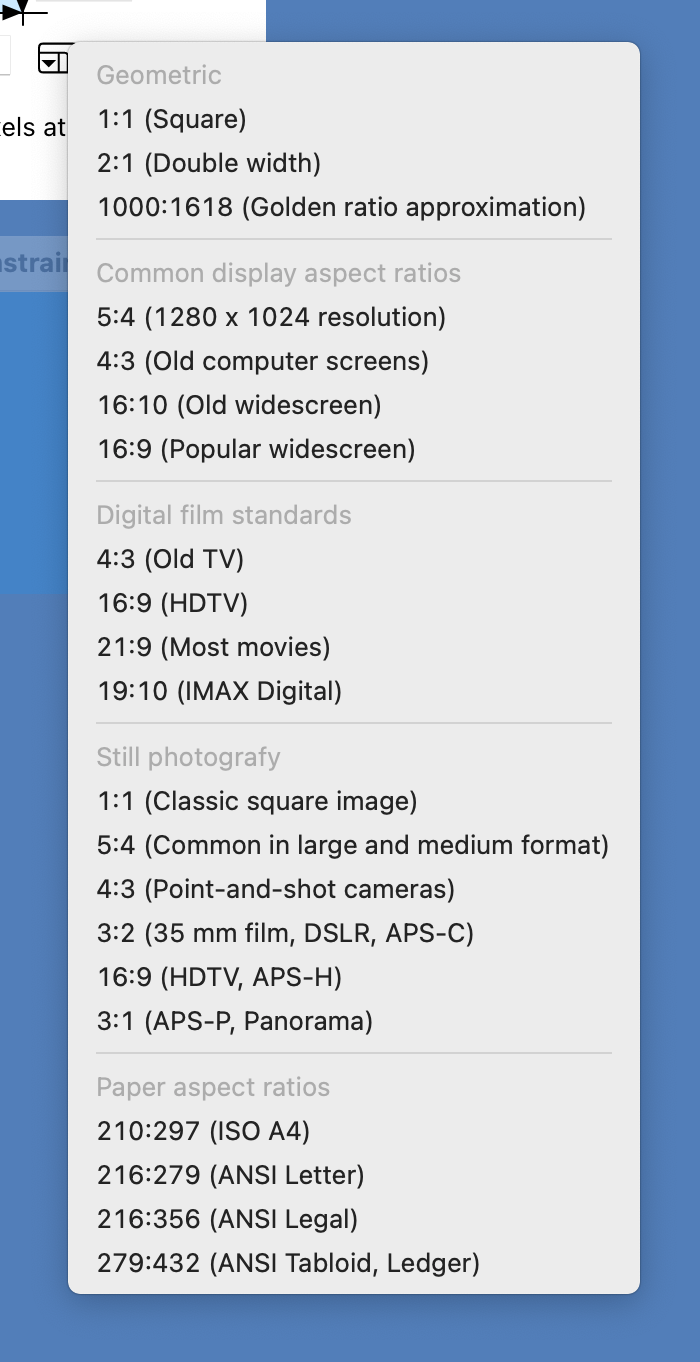
Being able to specify the snapshot aspect ratio (16:9, 4:3, Letter Paper Size, Golden Ratio,…) is another unique feature of SnapRect. Several common aspect ratios (image formats) are available as menu selections. For example, if 16:9 is
set to the aspect ratio (Full HD image format), the capture rectangle is scaled with this aspect ratio. A feature that is handy when you want to constrain all images to a specific aspect ratio or image format. One example is when you want
to create pretty image tables.
SnapRect has features for capture snapshots using a timer and also capturing multiple snapshots at intervals (time-laps). Time-lapse recording is handy for recording stock development or tracking down computer problems.
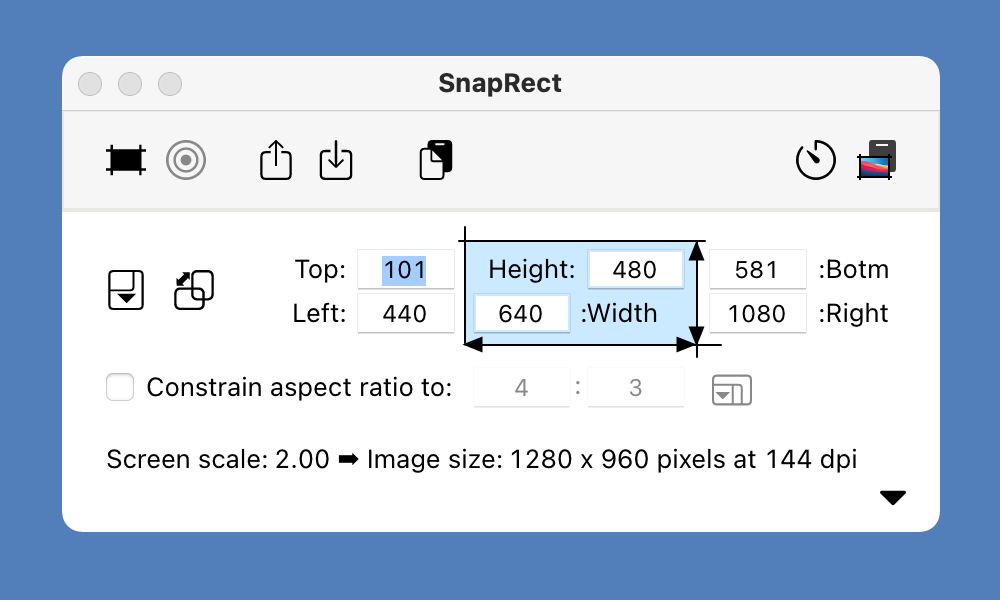
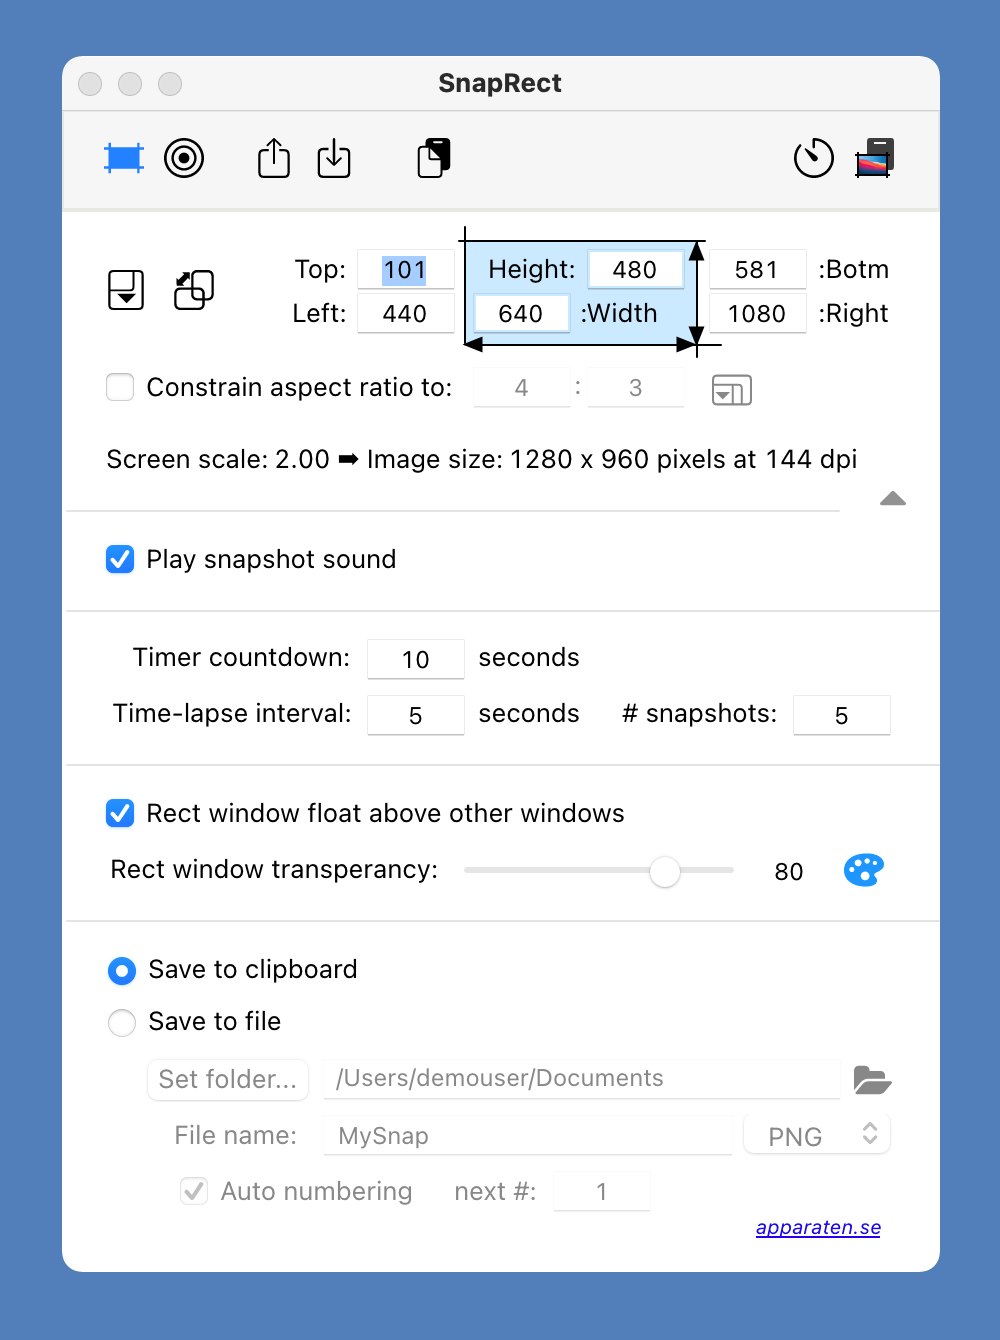
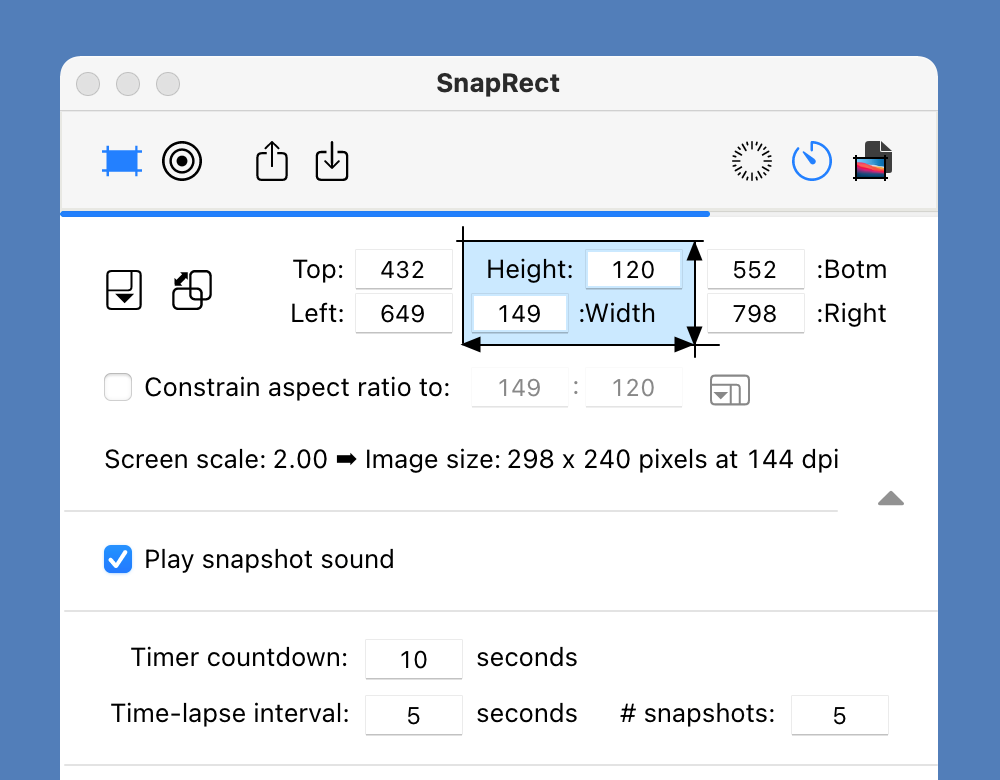
SnapRect in collapsed mode. Set the coordinates (Top, Left, Bottom, Right and/or Width and Height) of the rectangle to snap. The aspect ratio of the rectangle is shown and can
be constrained. Click the "SnapRect" button to capture the screen rectangle to the clipboard or to file.
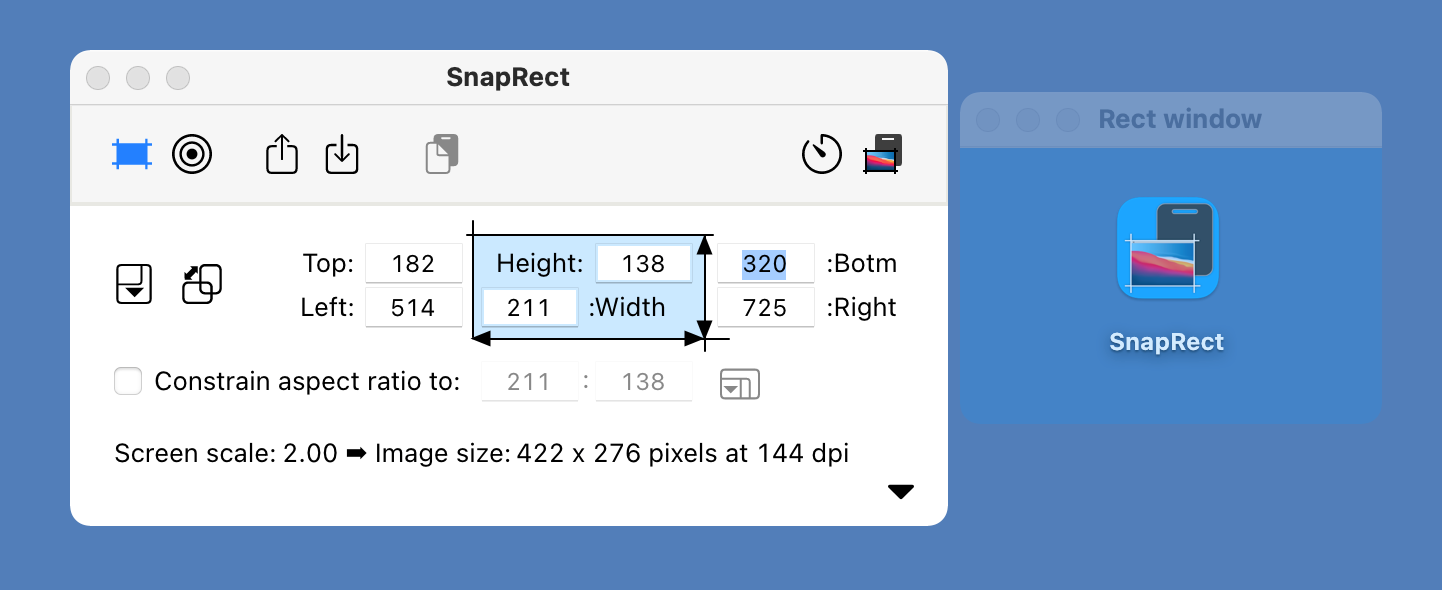
Click the "Set Rect" button to open the "Rect window" to facilitate the definition of the snapshot rectangle. Hover over the target icon to reveal the "Rect window". Move the window and drag the boundries of the window over the area you
want to capture. Right-click or control-click the "Rect
window" to capture the screen rectangle.
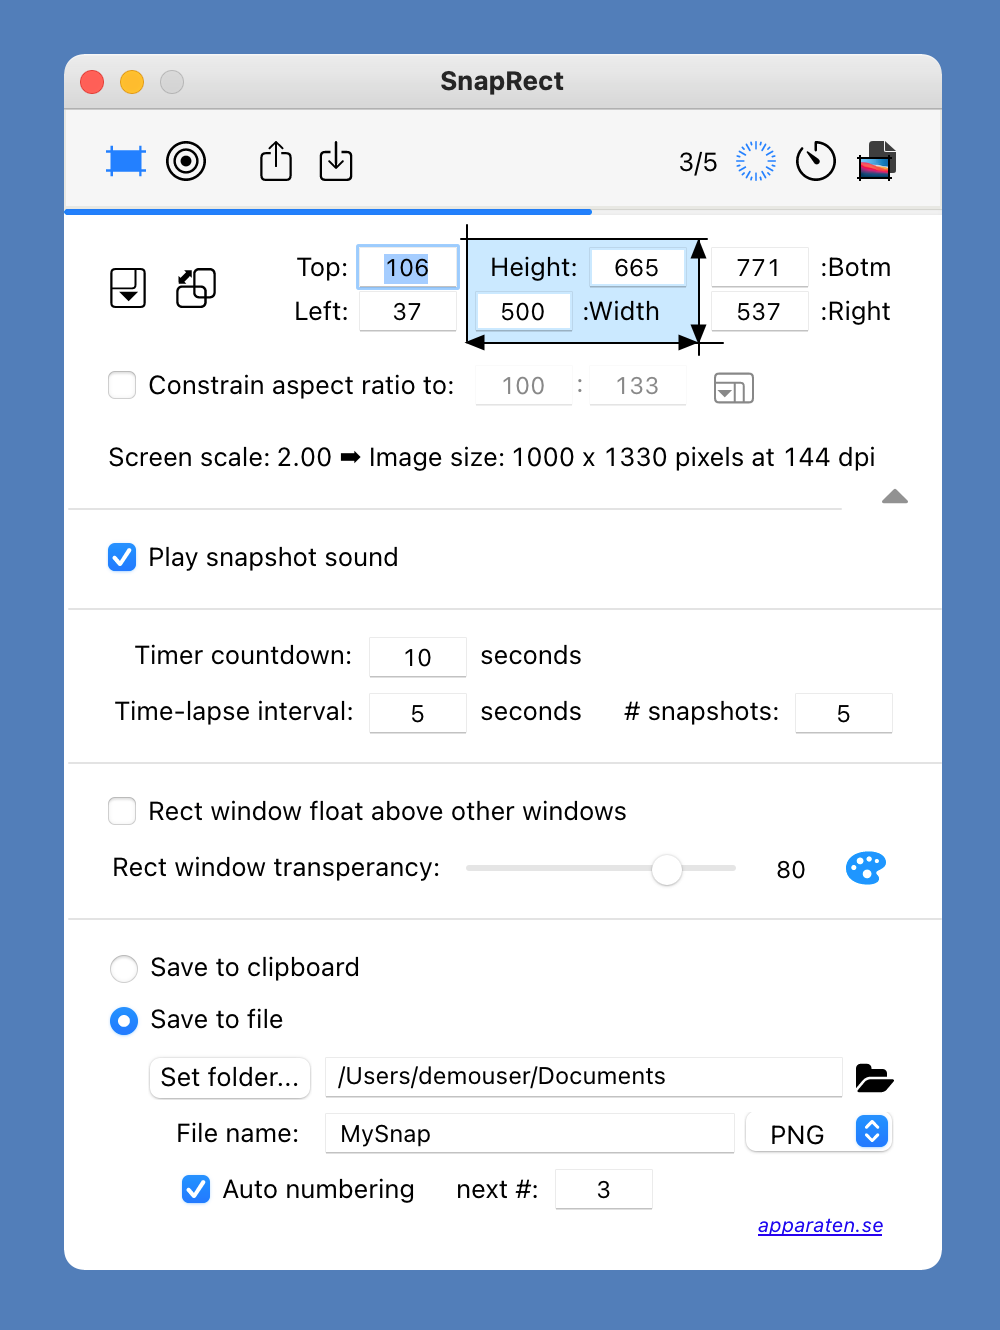
In collapsed mode click the small arrow in the lower right corner to expand SnapRect. In the expanded mode settings for sound notification, timer and time-laps capturing can be set. The captured image will be stored on the Clipboard
(default) but can also automatically be saved to file in different file formats (png, jpeg, gif, bmp)
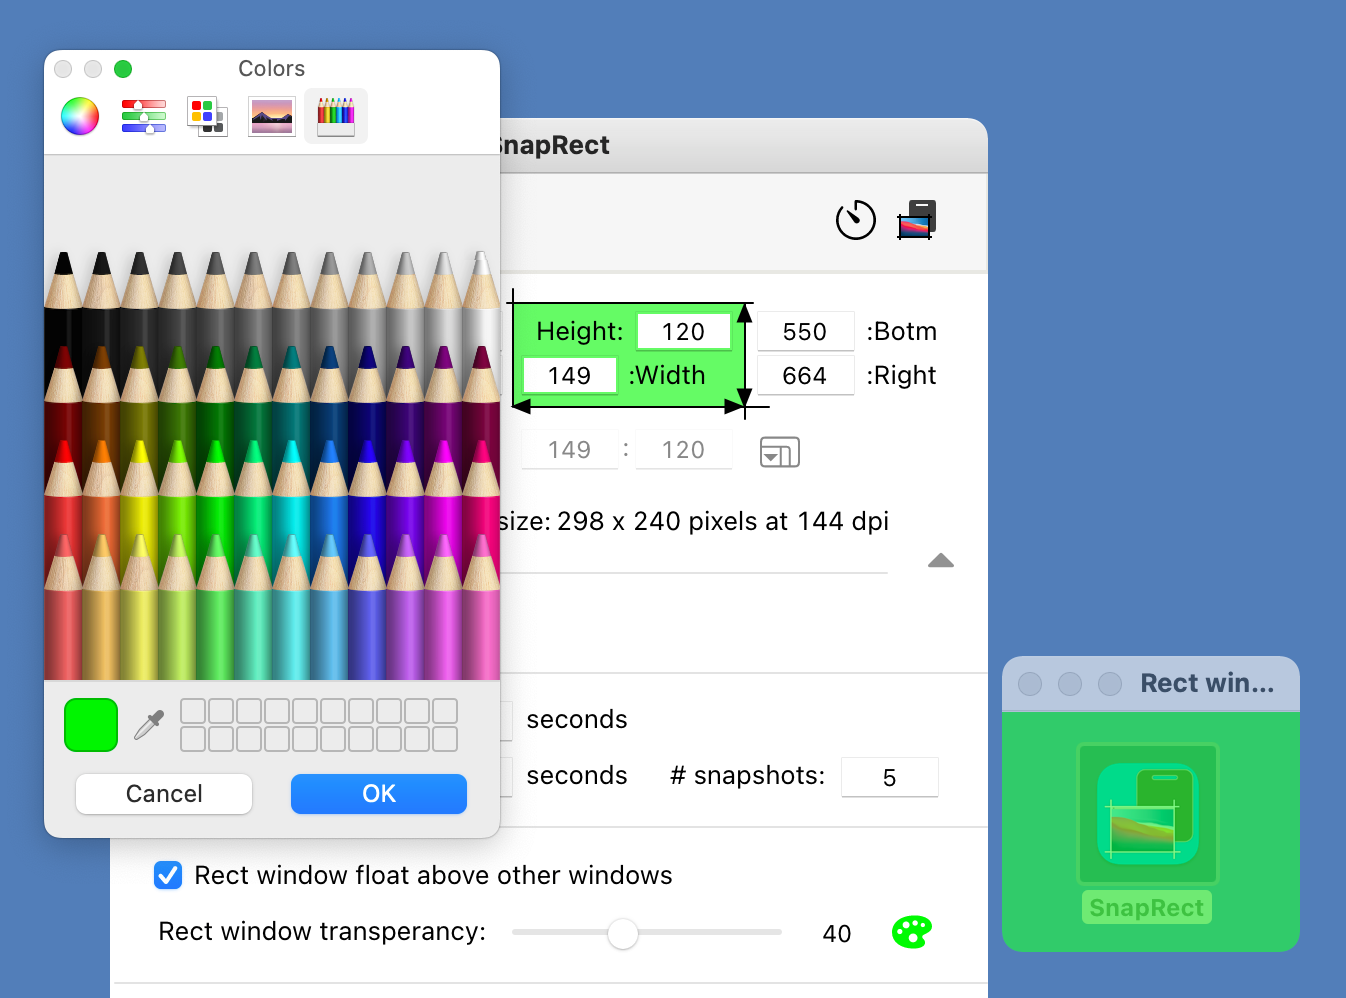
The Rect window color and transperancy can be changed. Click-the palette button to change color and drag the transperency slider to change the windows transperancy. The rectangle below the toolbar will show a preview. Click the "Rect
window float above other window" to... do it!
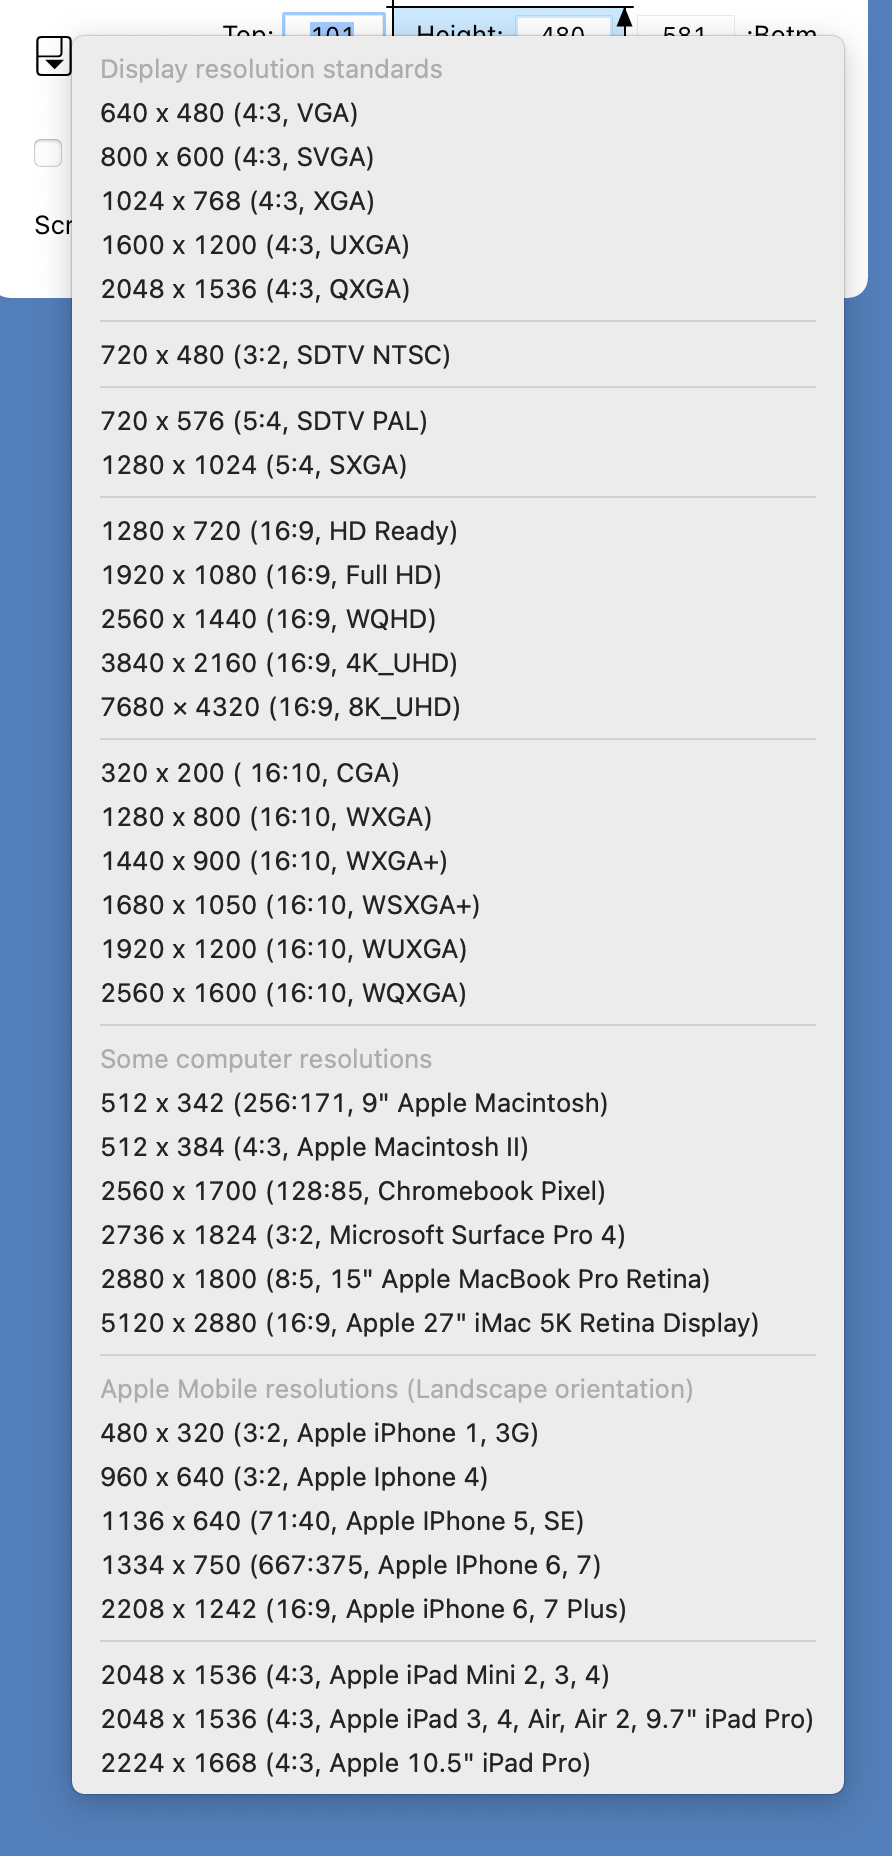
Click the "Dimension preset" popupmenu to select some common image dimensions. The "Rect window" changes too the selected dimension.
Check the "Constrain aspect ratio to:" checkbox to constrain the rectangle to a fixed aspect ratio. Alter the aspect ratio in the fields or select a common aspect ratio from the "Aspect ratio preset" popupmenu. The "Rect window" changes
too the selected aspect ratio and will be constrained when scaling.
Manual snapshot: To snapshot the rectangle manually right-click or ctrl+ left-click in the Rect window or click the SnapRect button or globally select SnapRect in the system menu.
Timer snapshot: Click the "Timer" button in the toolbar to start a timer. The rectangle is captured when the progressbar reaches the right side
Time-lapse snapshot: Click the "Time-lapse" button in the toolbar to start a time-laps capturing according to the settings. The progressbar shows the time-lapse progress and the text in the toolbar display
capturedImages/imagesToCapture. Save to file and auto-numbering must be set.
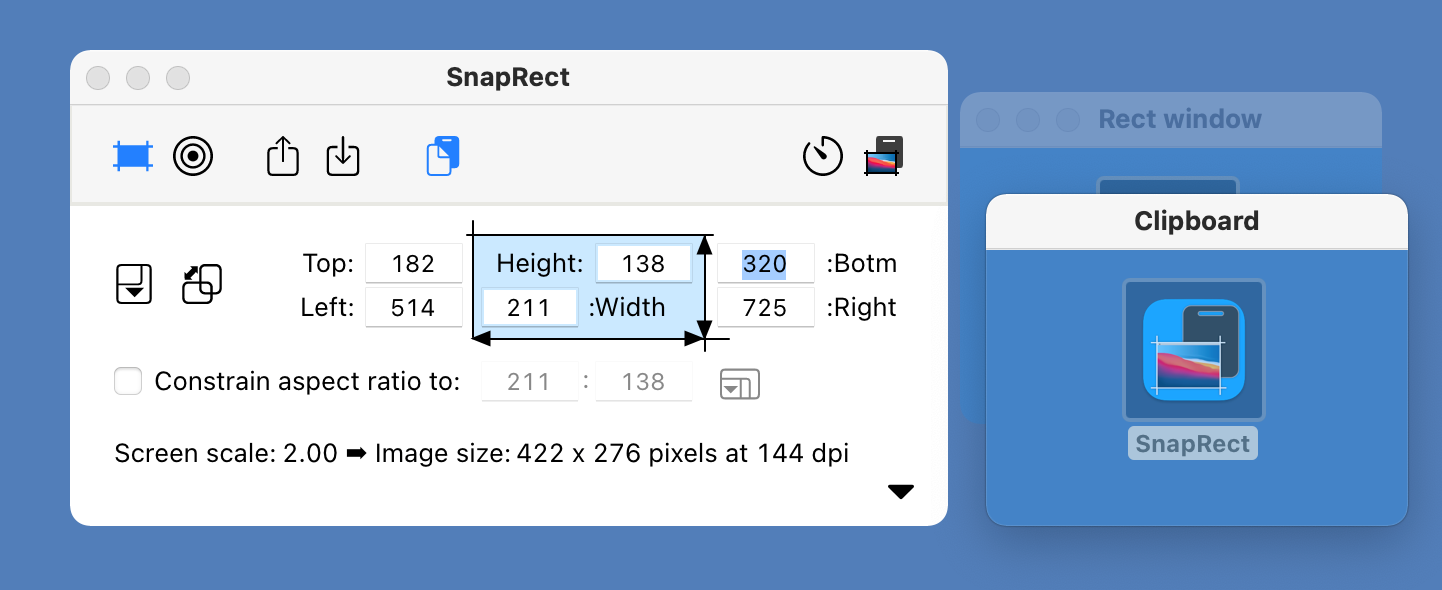
When there is a image on the clipboard - click the Clipboard button to show the content on the clipboard.
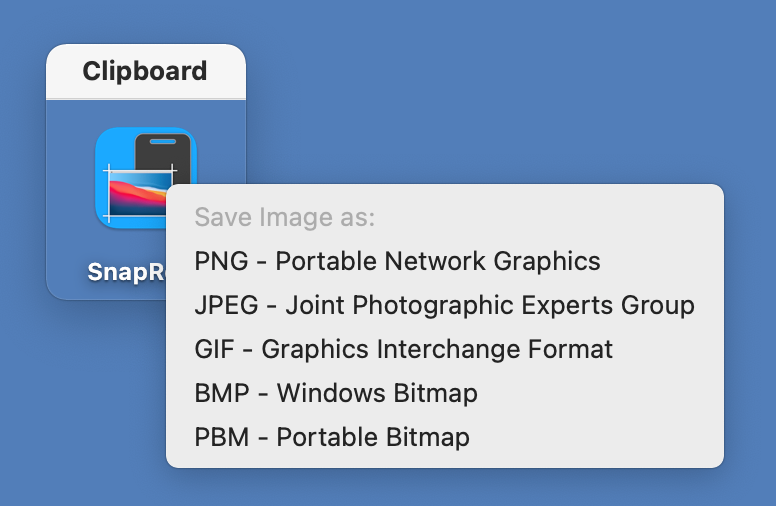
Right-click or ctrl+ left-click in the Clipboard window to save the content to file in the selected format.
Almost all images on this page was captured using SnapRect
